
Forums › Knowledge Base › Composite Construction Help › 38mm carbon fiber tube
- This topic has 11 replies, 4 voices, and was last updated 14 years, 10 months ago by
 greywolves.
-
AuthorPosts
-
2011-03-18 at 4:08 am #41220
 greywolves
Hey guys,
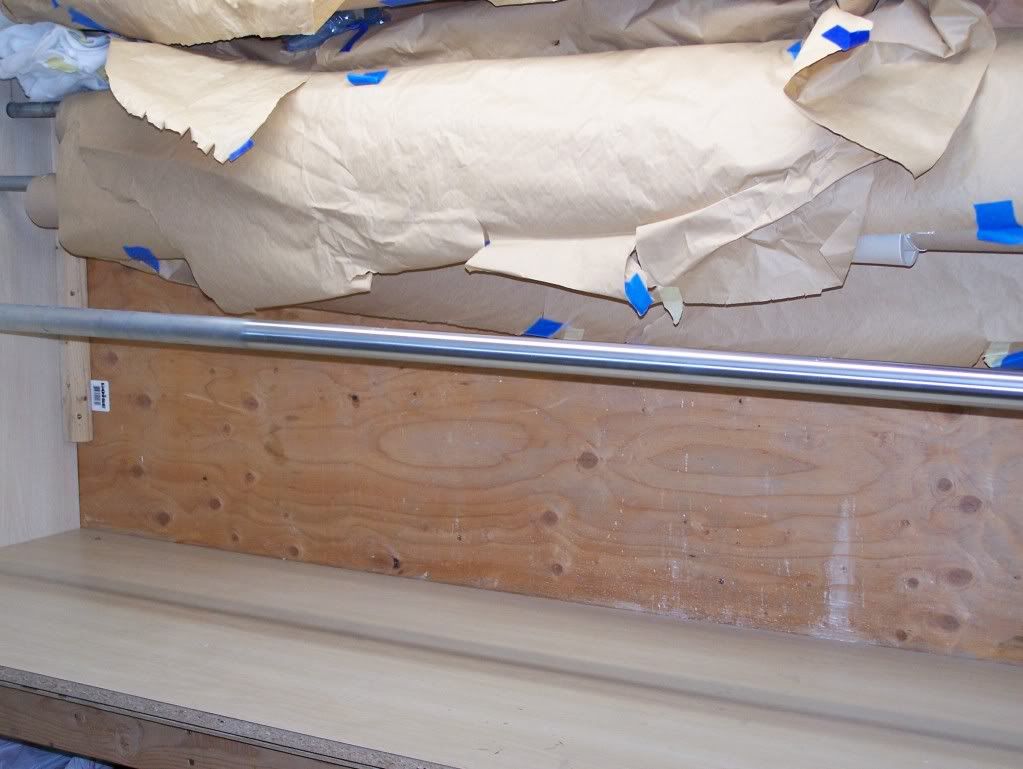
Thought I’d share a few pictures of my latest 38mm carbon fiber tube.
This is a picture of electrical tubing that I used for my mandrel. Thanks goes out to Dennis B., at the 2010 meeting/swap meet i bought some sanding pads from him, I used these to sand down my mandrel, worked very well.

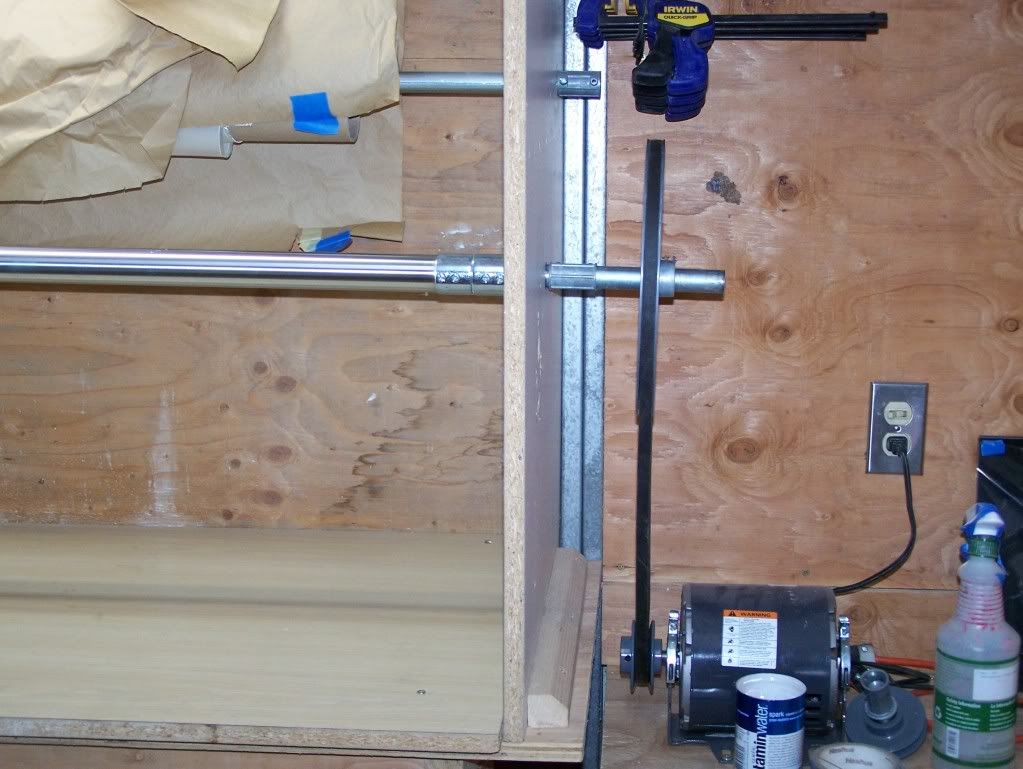
Homemade lathe, makes the sanding process very fast, the motor, belt and pulleys are from a old swamp cooler.
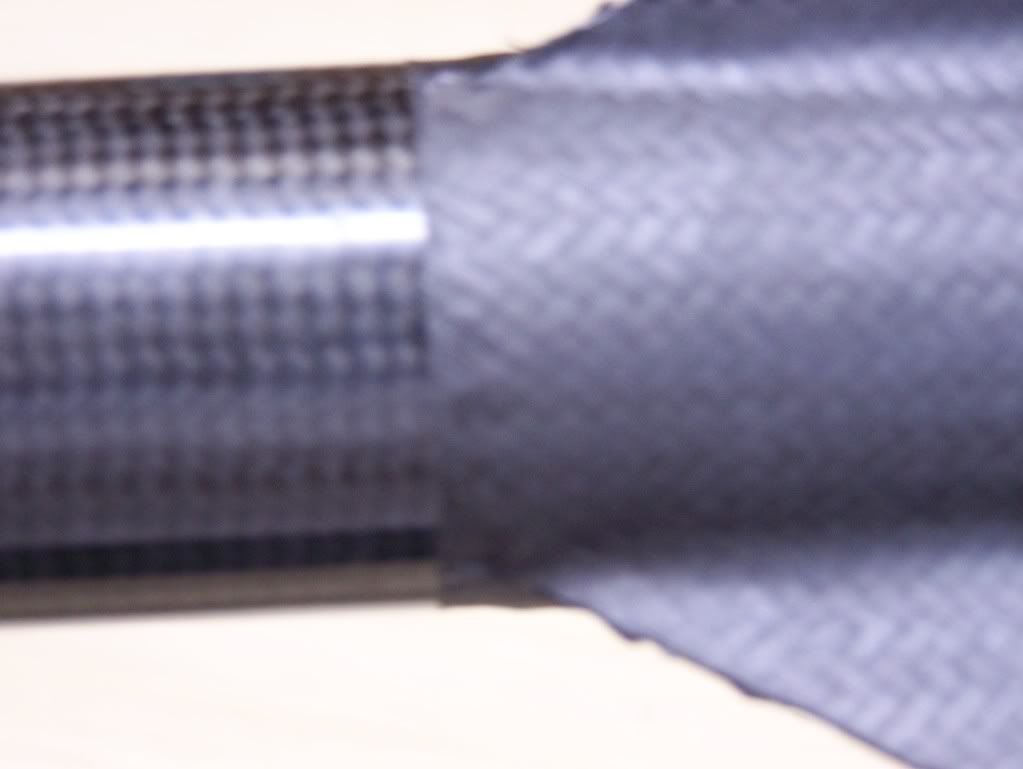
Just after removing the peel ply.
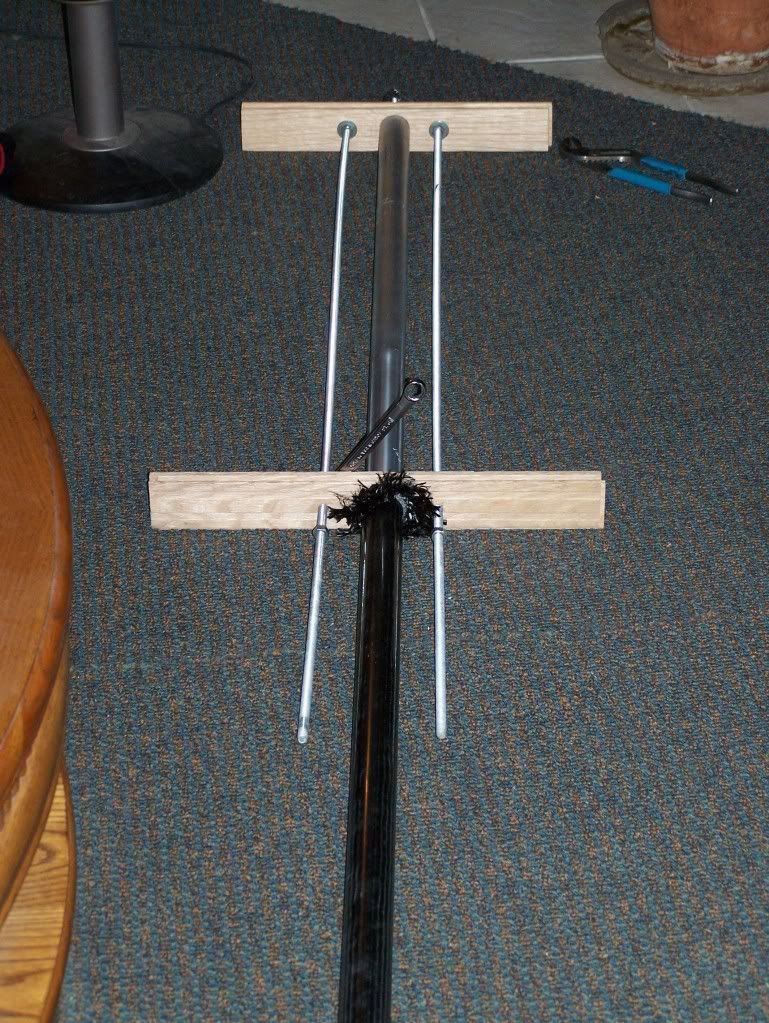
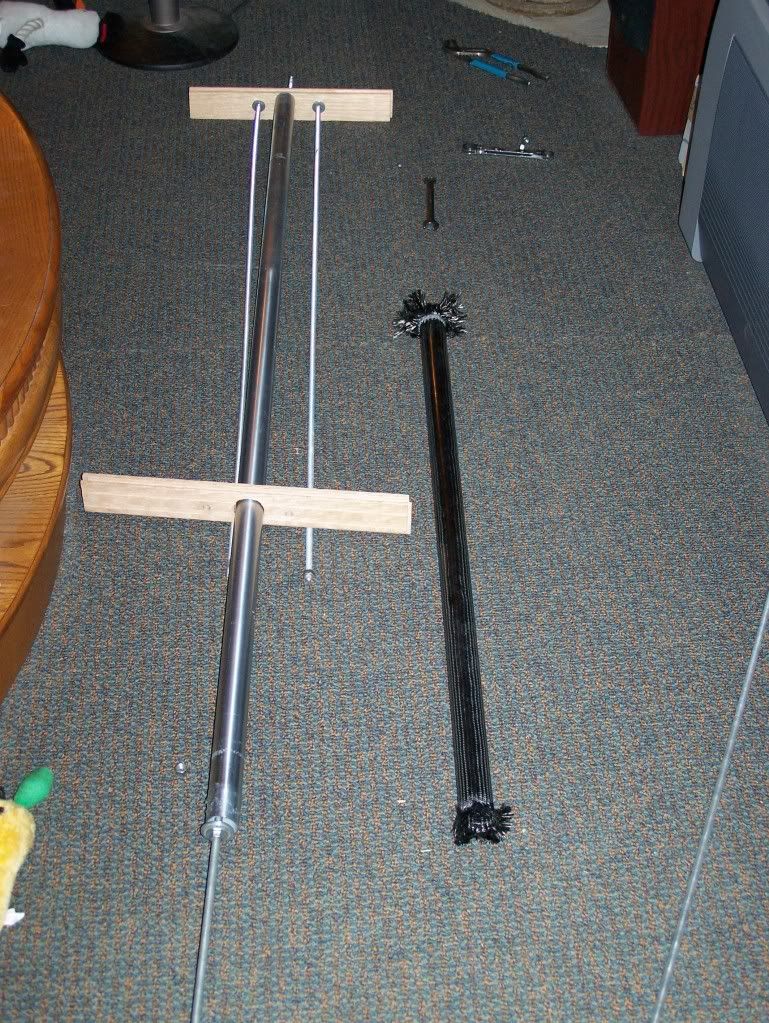
I know others have had a hard time removeing there tube from the mandrel, I too had this problem, again. Again, I made a reverse press using couple left over oak floors boards and few pieces of 3/8″ all thread, after turing the nuts about half the length of the tube, I can pull it off without much effort.
Shes off, only took about an hour, after getting it all assembled
After triming the ends up I have a working length of 36 1/2″ and weighs only 6.35 oz. very happy with the results. Oh, before i removed it from the mandrel, I skim it with a thin coat of epoxy, then sand it down, staring with 400 grit, 600, 1000, 1500, and 2000. Only takes a few passes each since it is on the lathe. Then a few passes with polish and wow does she shine!2011-03-18 at 12:43 pm #54029Warren B. MusselmanModeratorVery nicely done. I never thought of using EMT as a mandrel. I’ve always used paper or phenolic tubing except for the 38mm mandrel I had one of my machinist buddies make from schedule 80 aluminum pipe.
2011-03-19 at 4:01 am #54030greywolves
Thanks Warren,
I used 1 1/4″ for this. Did a 29mm also, used 3/4″ for that one.2011-03-23 at 10:03 pm #54031Steve JensenParticipantI learn from observation. Keep up the pictures. I really enjoy them.
2011-03-24 at 9:16 pm #54032edwardModerator38mm is a very easy size to get, 1.5″ OD tubing. Alreco has tons in stock, if you make cases you want .083″ wall thickness, otherwise I’ve sure he has .062 and .125 there.
Edward
2011-03-28 at 5:14 am #54033greywolves
Hey guys,
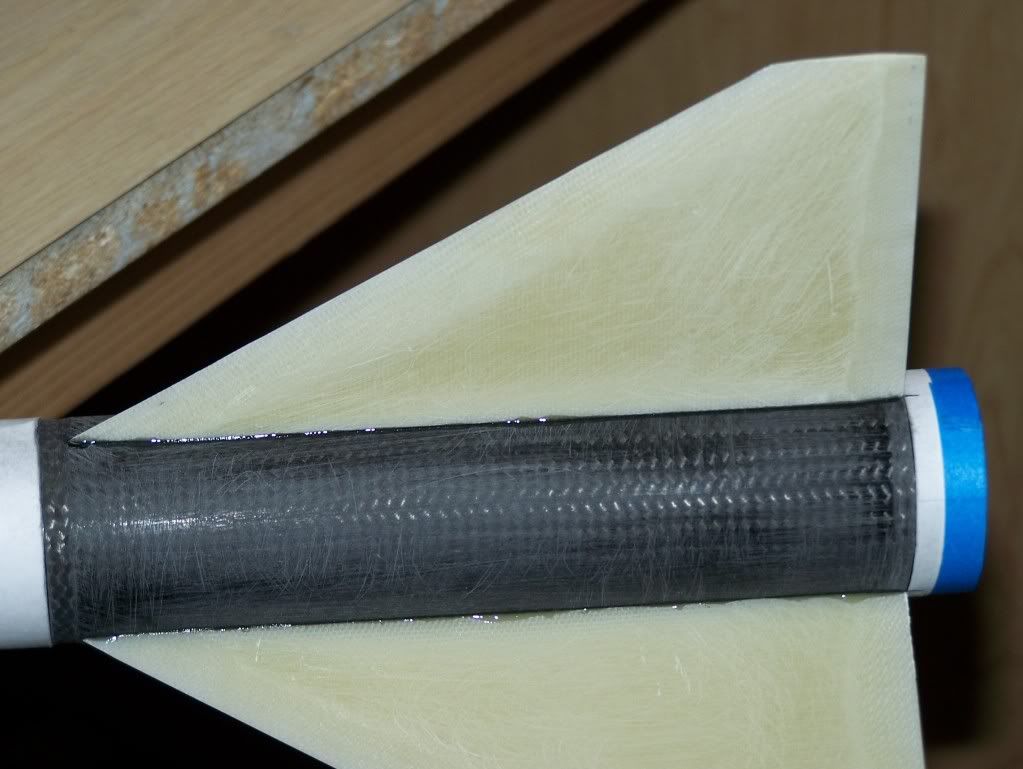
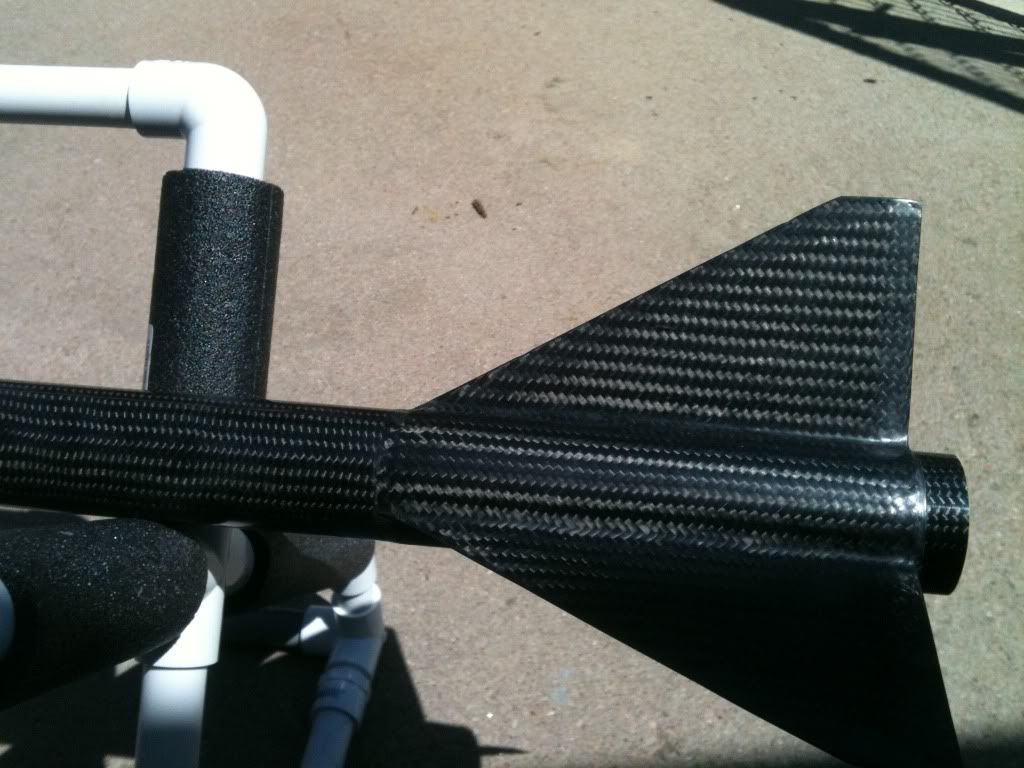
I got the fins cut, airfoiled and stuck on the tube.
Heres a back veiw picture.
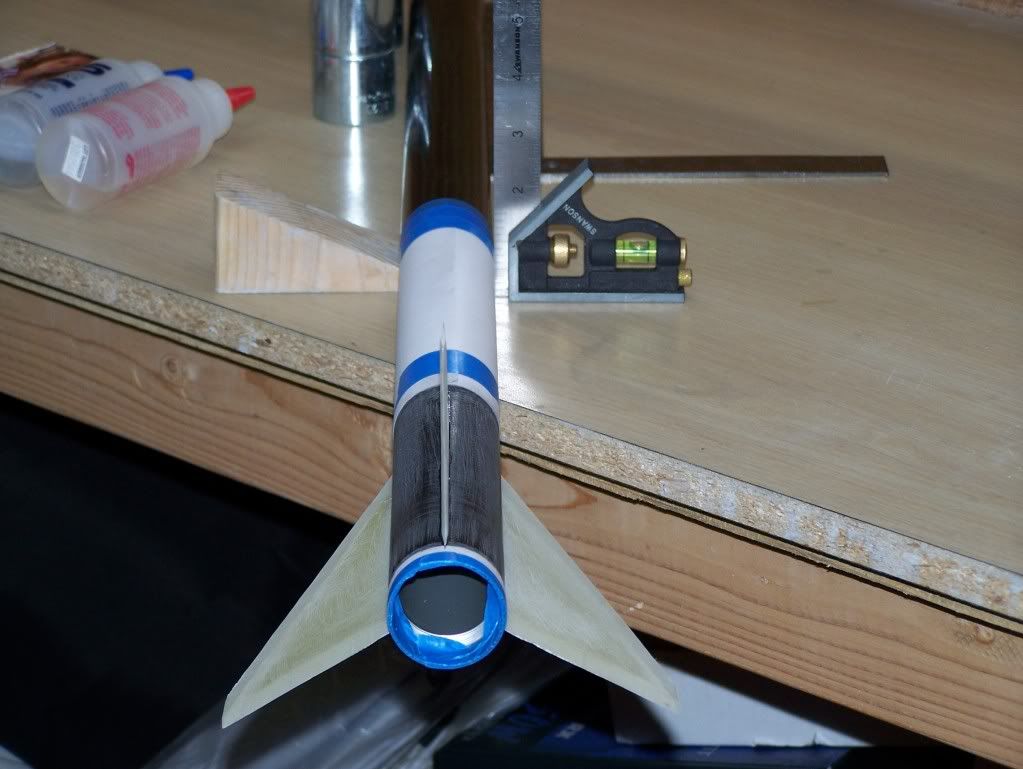
Heres a picture of preping for the fillets.
I got my fabric, peel ply, breather and bagging all cut out today, going to do 3 layers of cf. I bought one of the Fiskars rolling cutting wheels, Wow what a nice job this tool does, highly recommend it. I’ll post more pictures later.2011-04-03 at 6:20 pm #54034greywolves
Hey guys,
I got my fabric done yesterday on the fins. I did 3 layers of carbon fiber, first layer 1/2 way up both fins, and 2 layers tip to tip. This was my first attempt at doing the whole fin can at once.
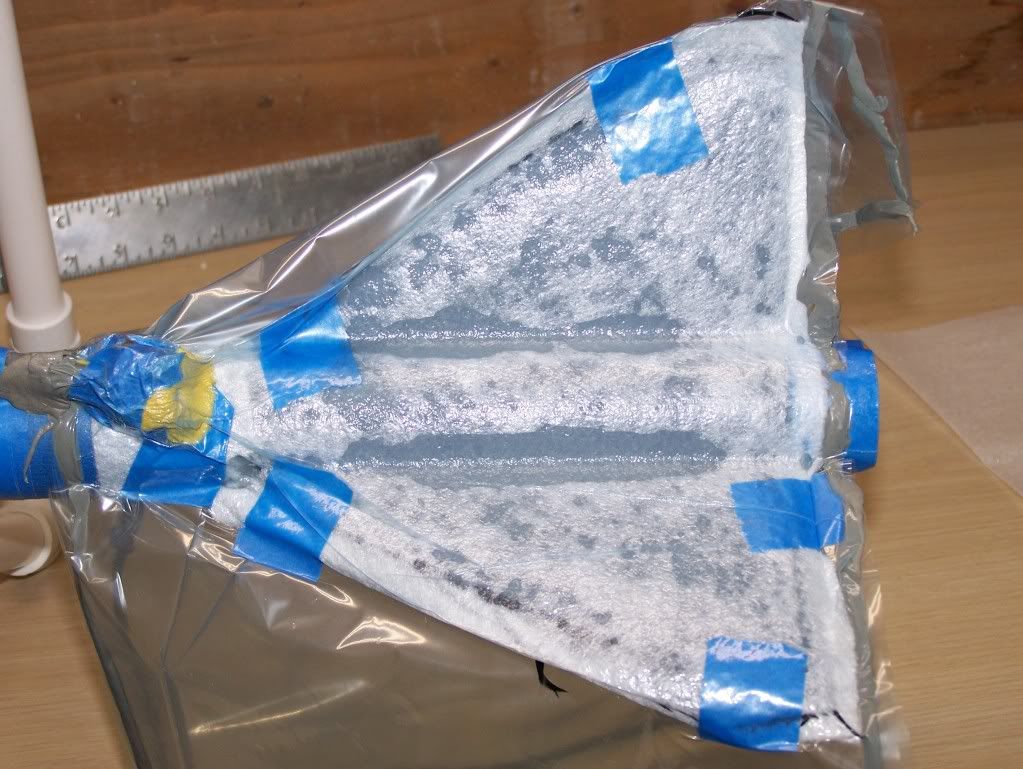
#1- vaccum bagged and picture shows breather soaking up extra epoxy.
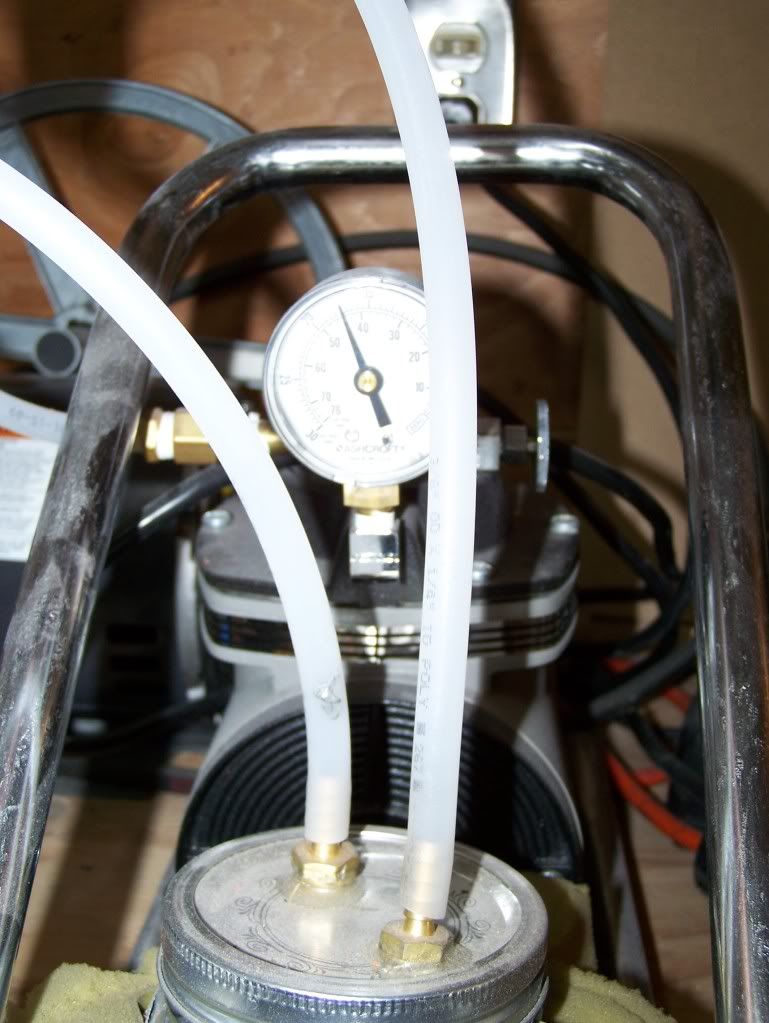
#2- Picture of the gauge, held at 17 Hg.
#3-Just after removing bagging, breather and peel ply materials.
#4- Trimmed up the extra fabric. I airfoiled the G10 alittle to sharp, so I enend up cutting into the wing just a bit.
#5- Veiw form the backend.
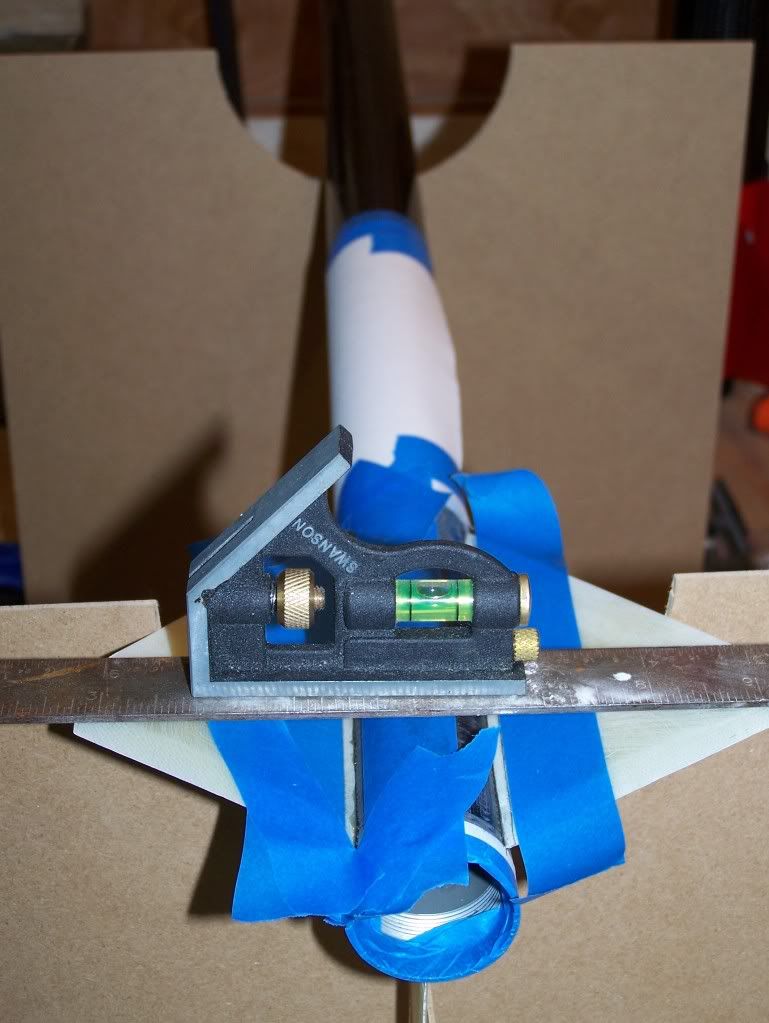
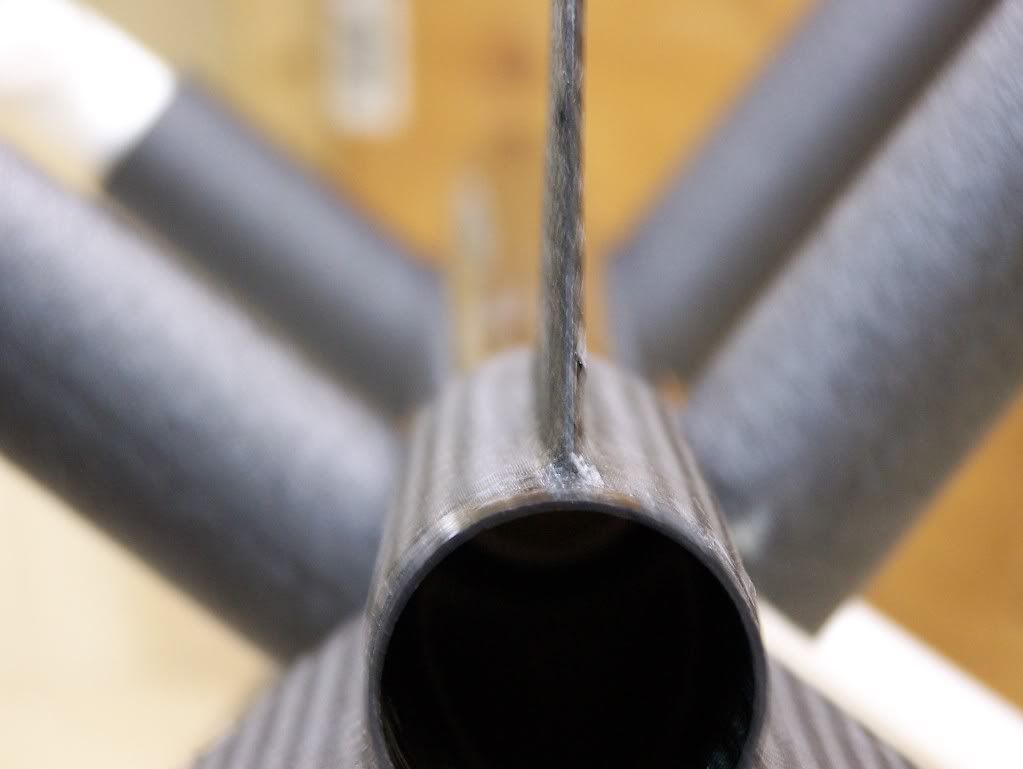
#6- Got this Idea from Jim Jarvis, sanded a shallow groove in front of the fins and the back of the fins, so I wouldn’t have a bump on the airframe, worked out well. Kinda hard to tell from picture though.
I will say the hardest part about this whole process was getting the bag on with just one pair of hands. I just need to give her a thin skim coat and polish her up, very pleased with the results, thanks to all the information I’ve learned form this website. Thanks guys!2011-04-03 at 10:56 pm #54035Warren B. MusselmanModeratorVery nice David! “Grom” huh? I’m currently having a piece of 4″ airframe turned down in three steps to accomodate 1, 2 and 3 layers of tip to tip without increasing diameter. It is slated to fly at BALLS this year.
2011-04-04 at 2:17 am #54036greywolves
Hey,
Yeah whats a grom, hehe. I edit my post to “groove”. Thanks Warren, sounds like you got a nice project going.2011-04-16 at 5:38 pm #54037greywolves
Hi,
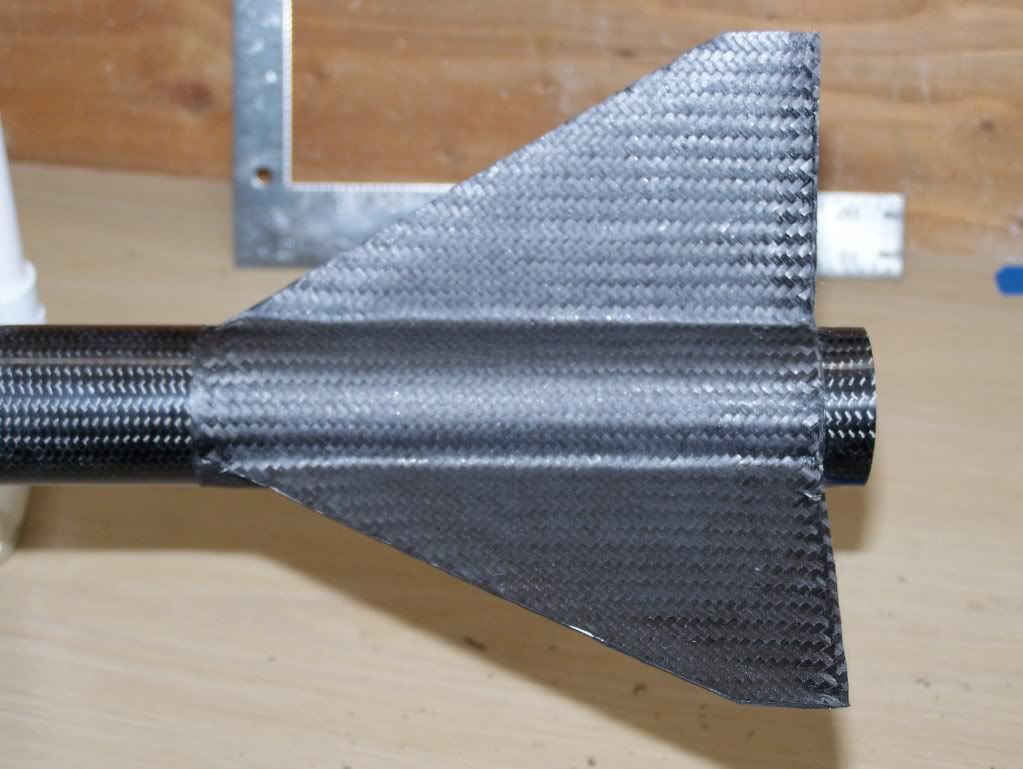
I got the fin can all polished. I add a thin layer of epoxy before doing any sanding, or you won’t get those little dust particles off there. Then start with 320, 400, 600, 1000, 1500, and 2000. Then use some 3M polish which gives it that wet look.
Finished picture gleaming in the sun.
-
AuthorPosts

- You must be logged in to reply to this topic.